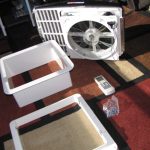
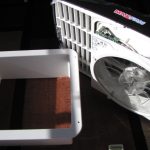
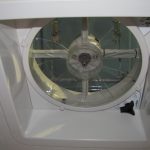
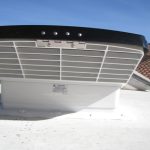
Many modern 5th wheel toyhaulers, and some standard tow trailers have really tall ceilings. Mine happens to be over 8′ from the floor, which makes getting to some of the vents a real pain. We have one vent in the tallest area, above the bunk beds. The only time we ever used this vent was if someone on the top bunk wanted it open, which was rarely, but it’s location made it a great vent for cooling down the trailer. Being in the back, at the highest location, hot air will be pushed into this area. So putting a fan in there seamed like a great idea to evac that heat. Enter MaxxAir’s MaxxFan Deluxe. The Deluxe model has a IR remote controller which is what peaked my interest. I’d be able to control the vent and the fan without ever having to crawl up the bunk ladder.
I took on this endeavor on SuperBowl Sunday morning. But first I made a stop at my local RV dealer to get some needed sealant. The instructions call for butyl tape and silicon caulk, but after talking to the manager at the dealer’s shop he convinced me that putty tape and Dicor self leveling caulk was a better solution for my rubber roof. You will only need one tube of caulk, and a very small portion of the putty tape roll, but the tape roll is huge… store it away in the garage for future repairs, it will last forever.
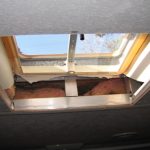
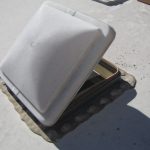
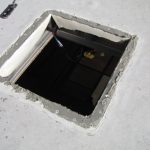
To begin, you need to either cut a new hole out, or remove an existing standard size vent. I chose the second route. Begin in the inside, by removing the inside molding. There should only be a few screws holding this on. Next, open the vent to provide better access to the external screws.
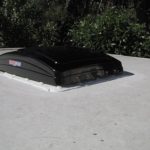
Now it’s time to move to the roof. Carefully get the outside molding, main fan and vent unit, and hardware pack to the roof. You will also need the Dicor caulk, and putty tape. For tools, you’ll need a #2 Philips screwdriver, a power screwdriver or drill motor with #2 Philips bit, a small putty knife, caulk gun, dikes, 3″ nail (to puncture the caulk tube), a small container of water and sponge, and a trash bag.
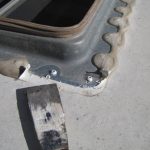
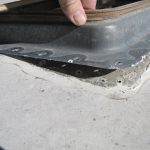
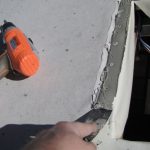
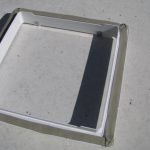
With the putty knife, carefully remove the old caulking. Unscrew all the old screws holding down the molding, you do not need to keep these screws, as the hardware kit includes very nice stainless screws. Don’t put away that putty knife yet, as now comes the fun part (sarcasm). Using the putty knife, carefully work under the molding separating the rubber roof from the molding. It should be attached with very sticky putty tape. Pull the vent and molding off, and put aside. Remove the remaining putty tape from the roof, this can take quite a bit of time, so be slow and careful not to damage the roofing. When all the putty is off, clean the area with water. Do not use household soaps or cleaners on any rubber roof.
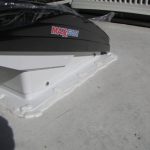
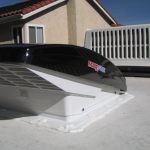
Moving to the installation of the new MaxxFan unit. Take the outside molding piece and turn it upside down. Take your new roll of putty tape, and place overlapping strips on the edge, covering the screw holes. Place the molding into the roof with the screw clips facing the sides of the trailer. Firmly seat the edges of the base, pushing the putty tape into the roofing. Using the stainless screws in the hardware kit, attach the molding, using caution not to strip the screws out in the roofing. Remove the excess putty tape from the edges of the molding once it’s firmly seated. Now use the Dicor caulk and seal around the edges, and cover each screw head.
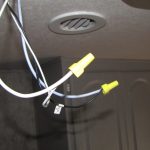
Next take the main fan unit and using the manual handle, open the vent top. This will give you access to the screw holes in the sides. Place the fan unit into the molding, and secure with screws. Time to move back inside. You will need to locate a near by 12v source to tie the fan into. Disconnect the batteries, and turn off your converter. The hardware kit comes with crip-on spade connectors, but I chose to use wire nuts to connect the 12v circuit. Once the unit has power, you can test the unit with either the remote control, or the controls on the fan itself. Install the inside molding piece and you are all done with the unit install.
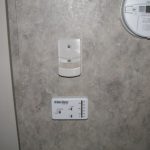
Choose a place to mount the RC unit, if you want to use the “auto” temperature mode, you will need to mount the unit within site of the IR sensor located at the manual controls on the fan unit. I chose to mount it near my existing thermostat before I realized the IR connection. Ooops. No big deal, I may move it later, but for now I like it where it is. The RC unit can control the opening/closing of the topper, fan speed and direction, and temperature settings.
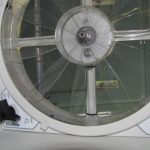
The temp inside my trailer was 80F, so I turned the fan on 100%, opened the top and set it to exhaust. The temp on the RC was right on target with my clock’s temp gauge. I let the fan run for about 30 minutes, and the temp only dropped about 2F. I was slightly disappointed until I looked at the outside temp on my clock… 70F?! Darn sun was pounding the side of my trailer. I reversed the fan direction, and in less than 15 minutes, the inside temp of my trailer was down to 73F and it leveled out at there not dropping any further. The fan itself is not very loud, even at 100% speed. When turned down to 50% speed, its almost silent. I love the ability to open and close the lid without climbing the ladder.
The fan has a “ceiling fan mode” which I don’t quite understand, when you close the lid and turn on the fan, it is supposed to act as a ceiling fan, however, it did not seem to move any air. It would be nice if they could have pulled that one off as my trailer does not have a ceiling fan, however I’m not disappointed as I was not expecting this function. Other than that, and the RC placement, I’m totally happy with the MaxxAir MaxxFan.
Next camping trip is scheduled over the President’s Day weekend, and I will follow up with a report of that weekend’s use of the MaxxFan.
Visit MaxxAir at http://www.maxxair.com to see the MaxxFan, and all the other vent and fan products they produce.

